Seems like I am creating stands lately, doesn't it? I don't underSTAND it either.
If you are still with me after that joke, keep on reading. This new piece of vintage little furniture is awesome IMHO.
Here's the story: I moved into my new place for 1.5 years. My flat is not a loft, nor is it in the attic. I like this style though!
So I decided to spice the place up with a couple vintage and industrial pieces of furniture. I bought a metal bed frame and a really used metal locker, in order to have a taste of the industrial style.
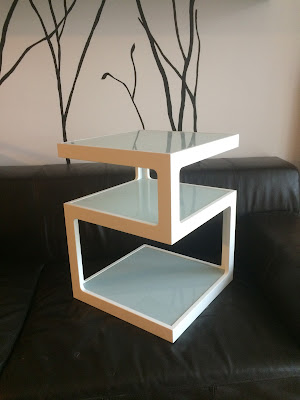
Shortly after, I bought a nightstand, which is quite modern and has nothing to do with the vintage, industrial or loft style.
Do you like it? If so, just buy one at KIKA or second-hand and you won't need to read this article any further.
Still here? Okay. So I need another one for the other side of the bed. I almost bought one when it hit me: let's create a nice vintage one! I have had this wooden box thingie on my mind for a while already and almost upcycled them as drawers for my industrial pallet coffee table (watch out for a DIY article about that later).
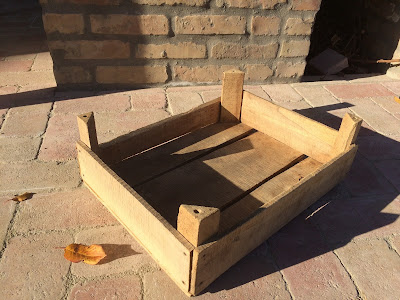
So what's this wooden box? Well, apples used to live in there. I always liked those at my grandparent's house. There were 2 types of them as I found out: the dark ones - I called them brown - and these natural ones.
The story goes: I call my mother, tell her I wanna create a vintage nightstand out of this. So I start: do you remember those brown wooden boxes?. She goes: well, we have the black and the brown ones. So I went for the brown type.
Turns out what she meant by brown was this one I finally chose, and the black ones were the cool-looking pieces I preferred.
But hey: when life gives you lemons, make lemonade. I happily vouched for this type because I could finally try that cool burning technique I always loved!
Before starting to light up the box, I was thinking what the top cover should be made of. Remember in my previous post (Industrial TV-stand - part 1) where I told you I wanna have something different for shelves other than glass as I used it a lot lately? Well, this is one of those cases, in my opinion, it looks cool here though.
Glass is pretty utilitarian too in this role: easy to clean, does not shatter even if you hit it with a hammer as it is tempered glass. Also, it fits perfectly in a loft apartment, goes well with the wood, the leather and the metal. Preferred the clear colour one as it lets you see the wood.
I drilled holes in all 4 corners so that I could stuff in the rubber bumpers. They are the most common solution in such applications. It is gravitation that keeps the glass in its place, no need to glue it or fix it in any other way.
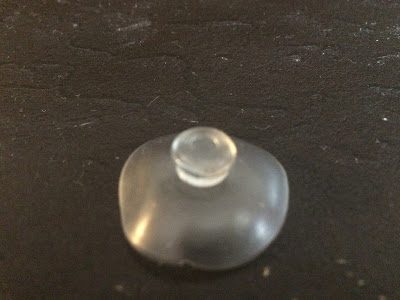 |
| Rubber bumpers |
Burning the wood
I awaited that phase with much anticipation! I used a little gas torch, thanks brotha'.
First off, I started to burn the wood evenly, just as you spray the paint. I was kinda experimenting as it was the first time I used this technique.
And I didn't like it, not one bit! It was too even, didn't match the natural imperfections of the wood.
So I sanded it and then tried to form irregular circles and shapes deliberately, which turned out to be the shit definitely.
I also wanted to have some kind of graphic on the inner bottom side of the box. I thought of putting some burlap coffee bag inside, often seen when it comes to a loft.
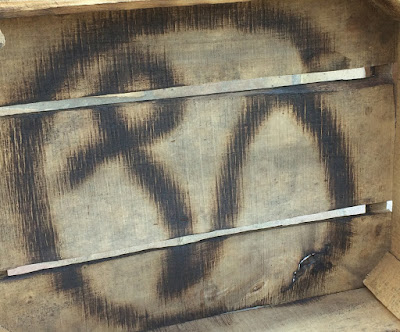
Then it hit me: why not to burn some cool vintage stuff in it? So why not a big 'V' letter? I adjusted my torch to the lowest flame size possible, in order to get a nice thin line that would form the letter. I reeeeeeeeeally like it!
I burnt the sides too, and have applied some baby oil onto them.
I did not put oil on the big 'V'. Thing is that the oil just tends to spread the soot so that the nice definite lines of the shape disappear.
I tried to burn a nice little 'V' on the front side of the box too. As expected, the width of the flame was too big, even on the lowest setting possible.
So what? It is not a 'V', but a nice lil' shape, it is okay to me. Experimenting, that is!
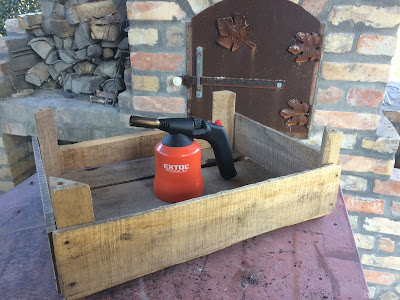 |
| Gas torch I used for burning the wood |
First off, I started to burn the wood evenly, just as you spray the paint. I was kinda experimenting as it was the first time I used this technique.
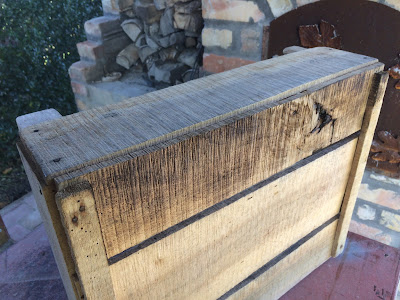 |
| After the first try of burning the wood for that vintage look |
And I didn't like it, not one bit! It was too even, didn't match the natural imperfections of the wood.
So I sanded it and then tried to form irregular circles and shapes deliberately, which turned out to be the shit definitely.
I also wanted to have some kind of graphic on the inner bottom side of the box. I thought of putting some burlap coffee bag inside, often seen when it comes to a loft.
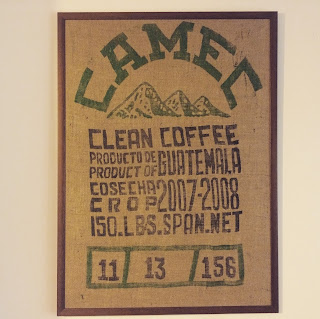 |
| A burlap coffee bag upcycled as "painting" in my flat |
 |
| Burning man, literally |
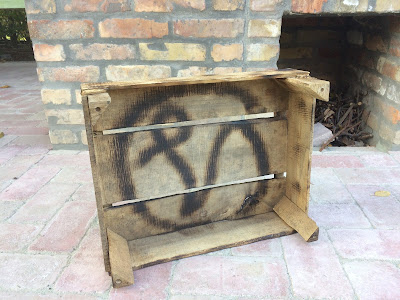 |
| V for Vintage, not V for Vendetta |
I burnt the sides too, and have applied some baby oil onto them.
I did not put oil on the big 'V'. Thing is that the oil just tends to spread the soot so that the nice definite lines of the shape disappear.
I tried to burn a nice little 'V' on the front side of the box too. As expected, the width of the flame was too big, even on the lowest setting possible.
So what? It is not a 'V', but a nice lil' shape, it is okay to me. Experimenting, that is!
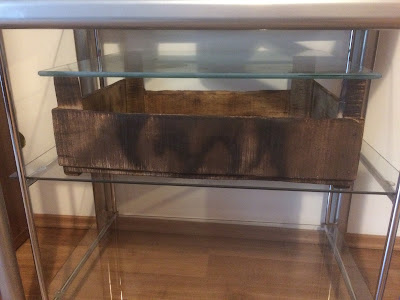 |
| Another V for Vintage - kinda :) |
Legs
The only thing left is to find suitable "legs" for it. The height altogether must be the one of the bed, and it needs to be repurposed as well just to fit the whole theme.
Any idea for the legs? Let me know in the comments section!
Any idea for the legs? Let me know in the comments section!
Comments
Post a Comment